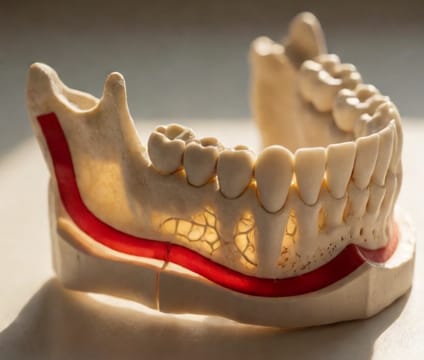
Toggle: Bone Density Layers
Bone quality (D1–D4) directly impacts how firmly an implant holds at placement and how much torque is safely applied.
D1 bone—very dense cortical bone—resists drilling but offers high primary stability; D4 bone—mostly soft, trabecular—drills easily but may not grip the implant tightly. Over-torquing into D4 bone can compress or crack the fragile trabeculae, reducing long-term success. Under-torquing into D1 may leave the implant loose, risking micromotion and fibrous encapsulation instead of bone integration. The toggle overlay lets you switch layers and compare how each responds to identical insertion torque values.
Our 3D model simulates actual torque curves: for D1, implants reach stable fixation at ~35 Ncm; for D4, stability often plateaus around 20–25 Ncm before risking bone damage. Clinicians adjust drill protocols accordingly—narrower osteotomies in D4, wider in D1—to match implant diameter and taper. Seeing this in 3D shows why standard torque values alone are inadequate without matching bone context.
After placement, bone remodeling responds differently by density: D1 maintains high initial stability longer but heals slower; D4 gains stability gradually as new bone fills gaps. The model visualizes early bone-implant contact—dense in D1 near cortical walls, more diffuse in D4 around trabeculae. Understanding this helps patients anticipate recovery timelines and activity restrictions in the first two weeks.